Make an engraved name template
This guide shows you how to create your own personalizable Cuttle templates.
Using a simple “Round Tag with Text” design as our example, you'll learn how to extract parameters, configure the Read Me, and publish a template that is ready to share with others.
Design Your Project 🎨
1. Create a New Project
- Go to My Projects on Cuttle.
- Click the plus (+) to start a new blank project.
- Name your project, e.g., "Round Tag Template".
2. Design the Base Shape
- Draw the tag shape:
- Add a circle, set size to 2 inches.
- Set the stroke color to red to indicate a cut.
- Add a small hole:
- Draw another circle, set to 0.19 inches.
- Position it at the top.
3. Add Fit Text
- Use the "Fit Text" shape to have text that automatically fits within a rectangle:
- Search for
Fit Textin the Create panel. - Resize the rectangle to fit inside the tag circle.
- Type in a name to see how it scales.
- Search for
- Choose an appropriate handwriting-style font (e.g., September).
- Add a black Fill to set your text to engrave
- Choose “everything” from the welding menu to weld overlapping letters
Turn Your Design Into a Template 🕹️
4. Extract Parameters
- Click the three dots on the text object → choose "Extract as Project Parameter” and rename it (e.g.,
name). - Repeat the same steps to extract the font as a project parameter.
5. Build the Read Me Page (Template UI)
- Switch to the Read Me tab.
- Click Add Component to include your tag design.
- You will be able to tweak all extracted parameters (e.g.,
name,font). - Hit Enter to go to a new line and click
Imageto add a cover image and upload a photo. (Thumbnails on Cuttle are sized to 16:9 — like a YouTube video thumbnail.) - Add a description for your template.
6. Add Recommended Fonts
- With your font of choice selected, click the 3 dots to Add Font to Recommended.
- Browse fonts (e.g., handwriting category) and add any other fonts that suit your design.
- When a user clicks to change font, your recommended fonts will appear at the top.
7. Set a Dynamic File Name
- Go to the Editor, select the component with the Cut file that users will download.
- Add a new component parameter named exactly
_fileName(with an underscore). - Type an expression like this:
`My Tag - ${name}`. You can replace “name” with any other parameter. - Now when the user downloads the file, it will include the customized name (e.g.,
My Tag - Linn.svg).
💡 Tips & Best Practices
- Test your template with both long and short names.
- Include at least three recommended fonts that work well with your design.
- Add a good cover image and description—this improves how your template looks on the Explore page.
👀 Preview Your Template
- Use the “Switch to Simplified View” button to see what users will see.
- Make sure everything is clean, intuitive, and functional before publishing.
🎁 Templates with Customizable Engraved Text for Inspiration
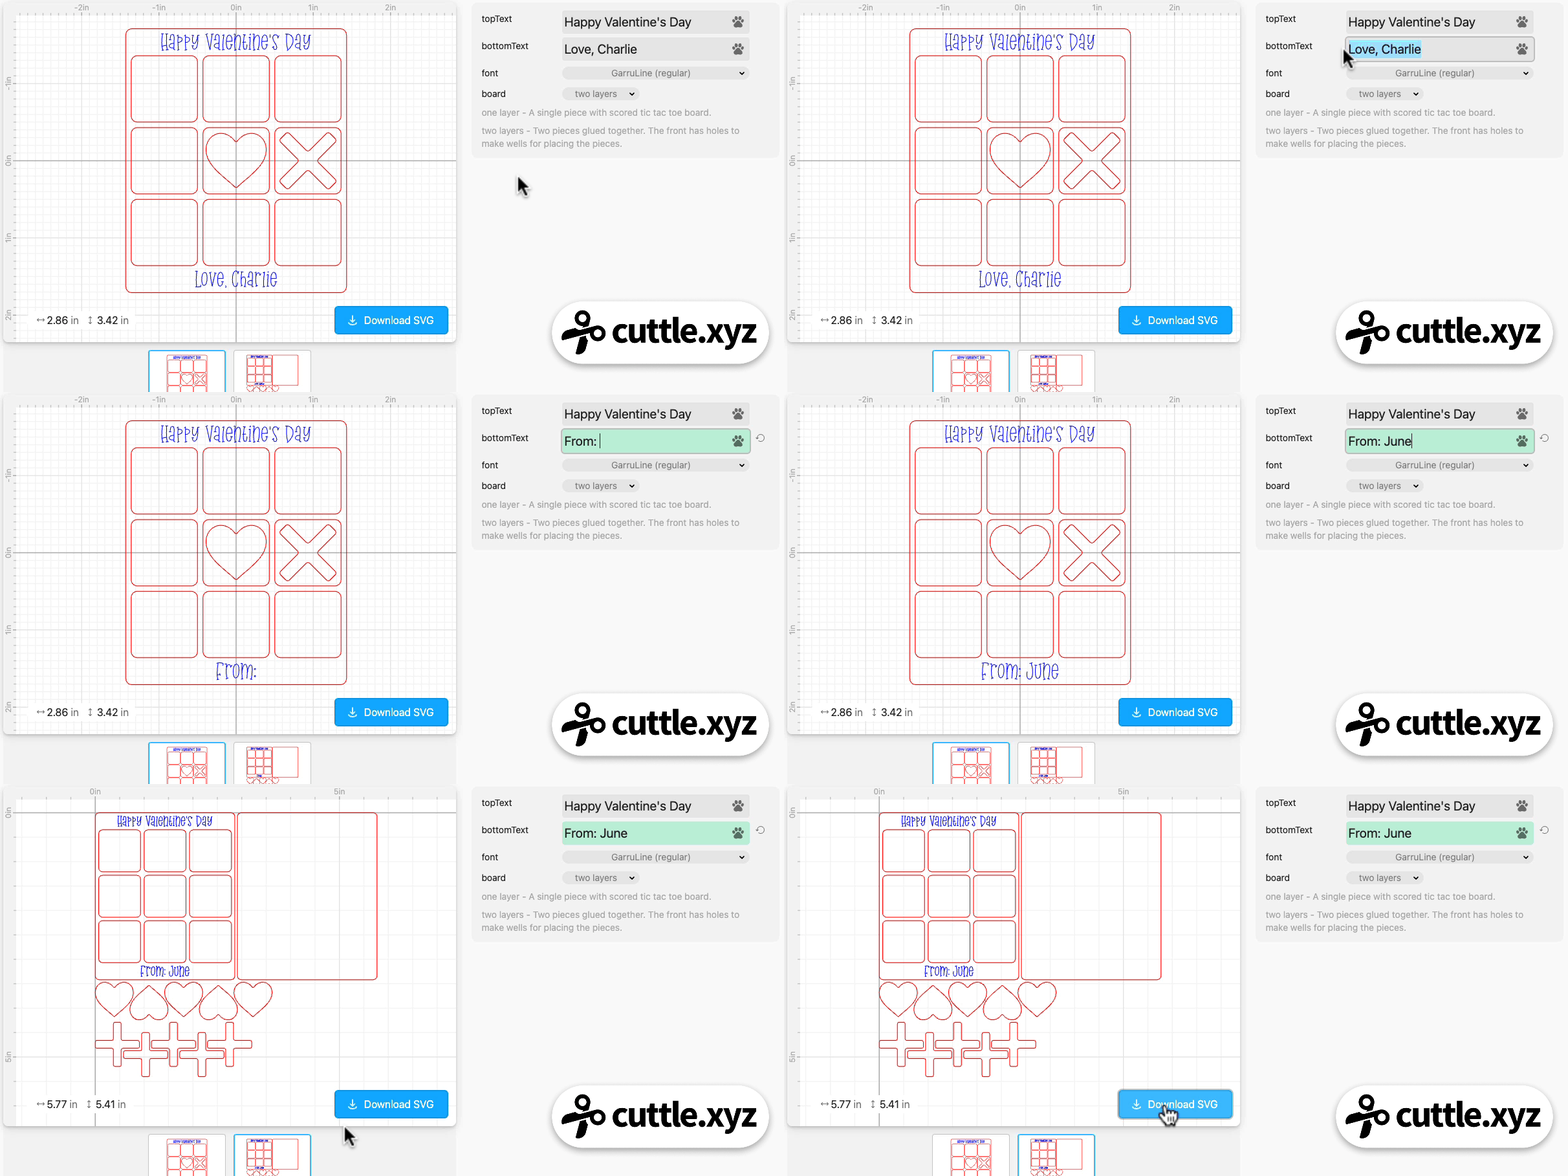
Tic-Tac-Toe Gift
This template uses Fit Text with a scoring font for the top and bottom text.
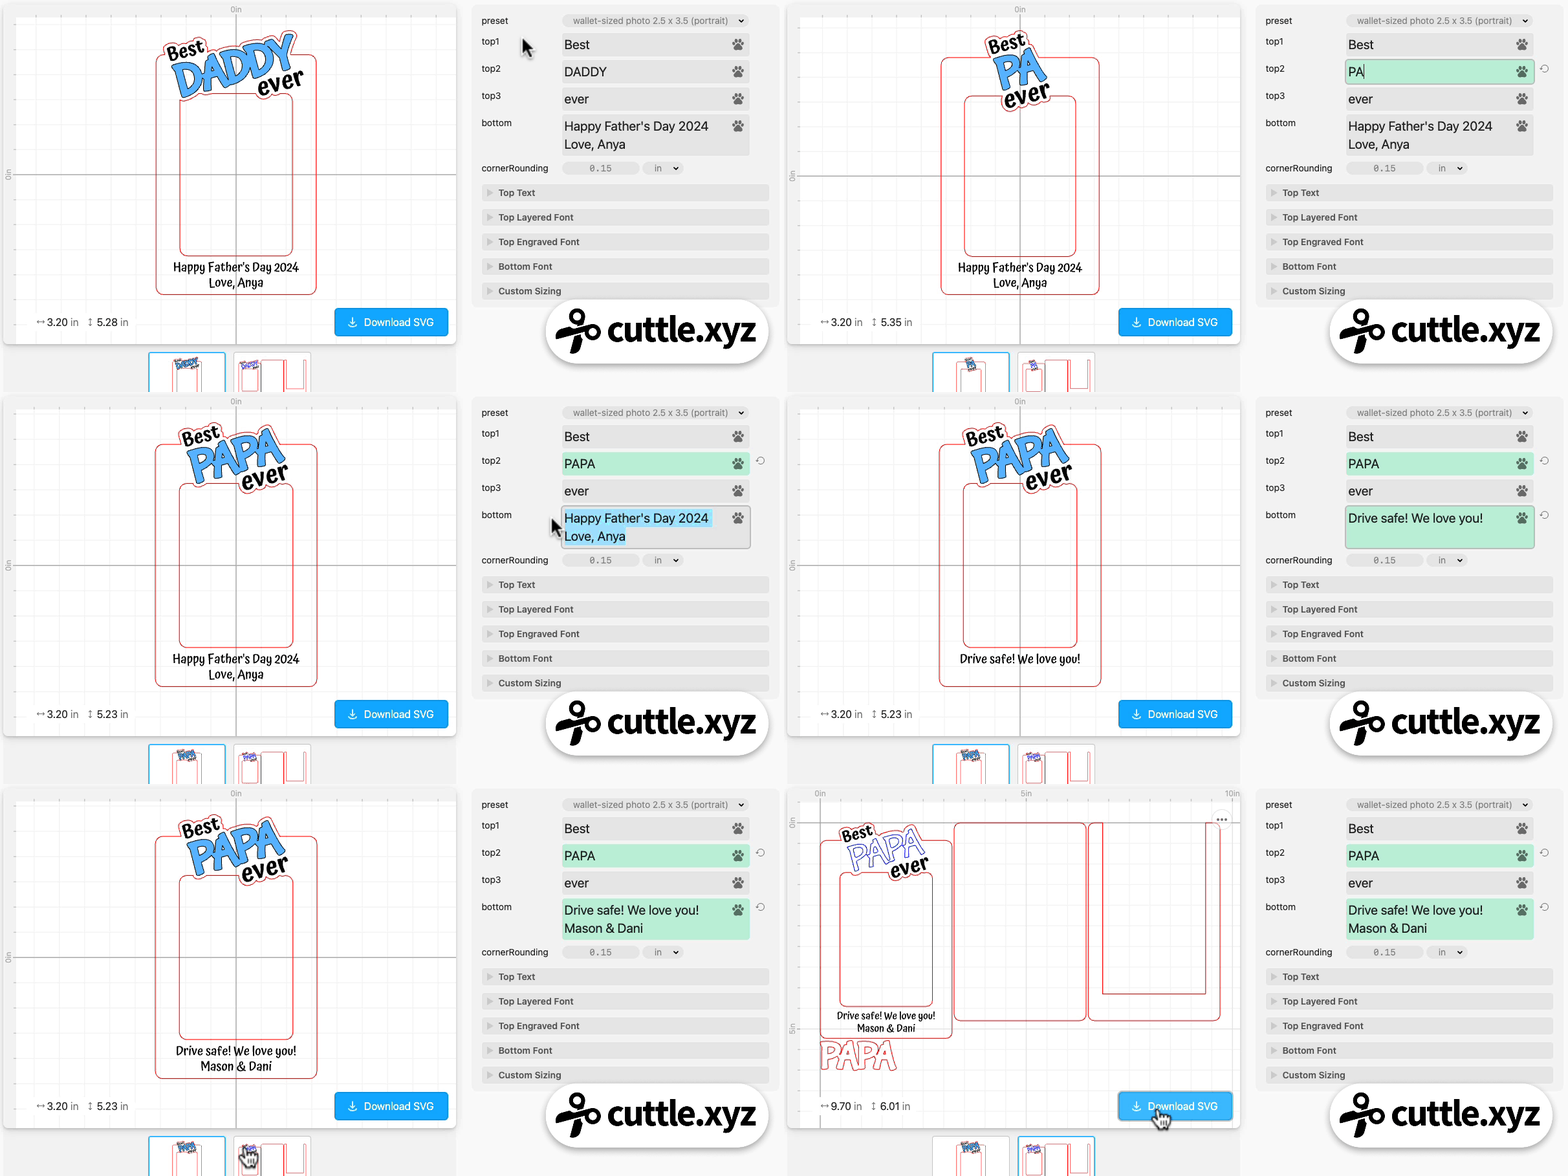
Best Dad Ever Photo Frame
This template uses Fit Text to engrave a custom message on the bottom of the photo frame.