Make a layered name template
This guide is Part 2 of our series on creating your own personalizable Cuttle templates.
In this tutorial, you’ll learn to design a two-layer star name template:
- A top layer you can personalize by just typing a name
- A backer that automatically adds guides to help align and glue the name
You will also learn to use Auto-Layout to organize your Cut file, create a visual preview for your design, and configure your template’s Read Me.
1. Start a New Project
- Go to My Projects and click the + to start a new blank project.
- Rename your project (e.g., “Star with Name”).
2. Create the Backer Shape
- Add a Star shape from the Create panel.
- Resize it to around 3 inches.
- Apply the Rounded Corners modifier to soften the edges.
- Set the stroke color to red to make it a cut.
- Rename this Component
Backer Shape.
3. Add a Name with Fit-Within Text
- Create a new Component called
Name. - Drag a Fit Within text shape from the Create panel and center it.
- Resize it to about 2.5 inches wide to sit comfortably on the star.
- Enter a name to preview.
- Set scaling to Grow so the text fills available space.
- Choose a font like Retro Angela.
4. Create the Backer
- Create a new component called
Backer. - Add both
Backer ShapeandNamecomponents into it.
5. Weld the Text for Cutting
- In the
Namecomponent, select the text and click Show More Options under font - Connect the letters by selecting connect → dots and letters.
- Weld the letters by selecting welding → everything.
6. Extract & Move the name Parameter
- Click the three dots next to the text parameter and choose Extract as Project Parameter.
- Note: The video shows the parameter being extracted in two steps. The Cuttle Editor has since been updated to include the option to Extract as Project Parameter in a single step.
7. Add Alignment Guide (Inset Score)
- Add another instance of the
Namecomponent inside theBackercomponent. - Apply the Contract (Inset) modifier to shrink the text slightly (~0.03 inches).
- Set the stroke color to blue (used for scoring).
- Apply the Remove Holes modifier to eliminate small inner cutouts.
8. Create a Visual Preview
- Create a new component called
Preview. - Add the
Backer Shapewith a brown fill. - Add the
Namecomponent on top with a light pink fill, to show users a preview of the finished design.
9. Create a Cut Component with Auto-Layout
- Create another component called
Cut. - Search for Auto Layout in the Create panel and drag it onto the canvas.
- In the pieces section, add the
BackerandNamecomponents. - Click the Play icon to confirm.
10. Set Up the Read Me (Template UI)
- Open the Read Me tab.
- Add the
Previewcomponent to show a preview of the final design. - Add the
Cutcomponent. This is the file you get when you click Download SVG, indicated by the small arrow next to it.
🎁 Examples Using This Pattern
Cheerleading Bow Bag Tag
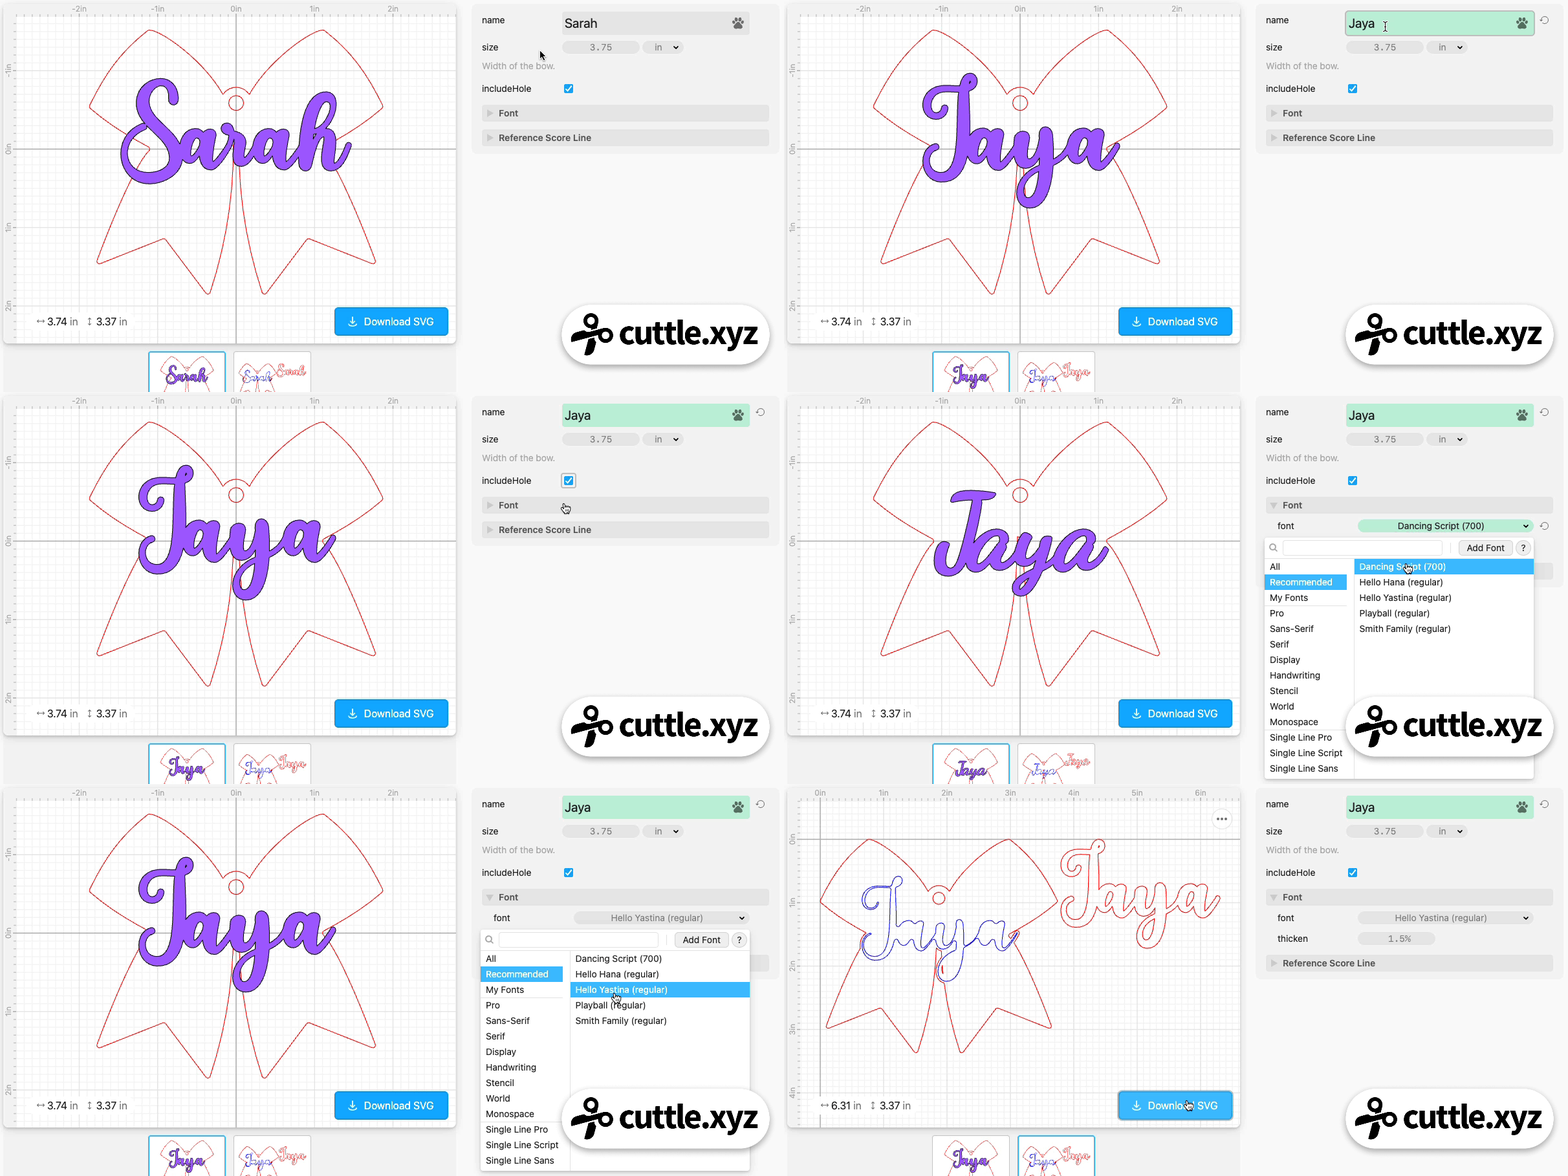
A Cheer Bow bag tag that you can personalize by simply typing a name. On the backer layer, the name is automatically welded to provide a solid base to glue the name piece. You can also add an optional inset score line to help you align the name.
"Look What I Made" Magnet
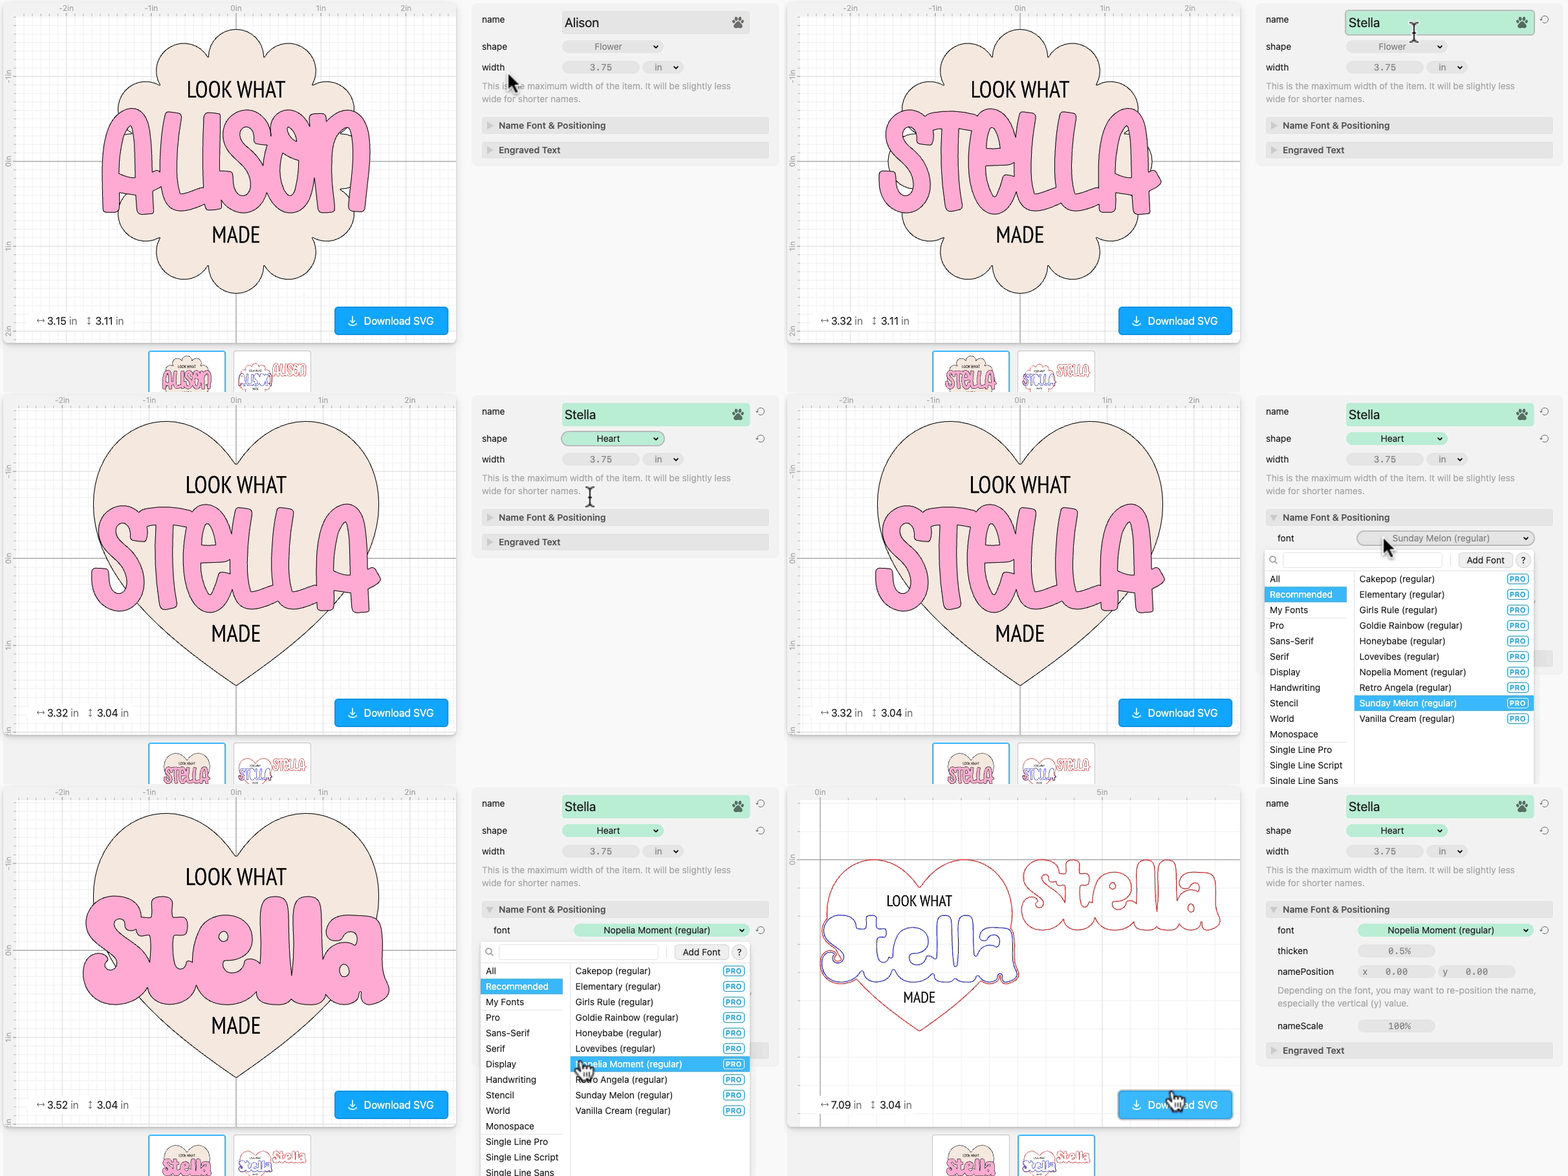
A “Look What I Made” fridge magnet that you can instantly personalize by typing any name. This template lets you choose your own font as well as a variety of backer shapes (flower, heart, rounded rectangle, etc).
The name is automatically sized to fit, and dots on i’s are automatically connected. It generates a backer with a spot for placing the name. You can also customize the engraved “Look what _ made” text.