Make laser cut boxes
This guide walks you through everything you need to make your first laser-cut box. Whether you’re new to laser cutting or already experienced, you’ll learn how to use Cuttle’s box templates to quickly create custom boxes with finger joints and perfect-fitting dimensions.
Follow along with the video or the steps below to:
- Configure and download SVG cut files for your custom boxes
- Cut the pieces using your laser software (e.g. Glowforge, xTool, etc.)
- Assemble and construct your boxes — with or without glue
We recommend beginning with 1/8" (3 mm) plywood or MDF. Apply masking tape before cutting to reduce burn marks and keep parts organized for assembly.
Go to Cuttle's simple (and free!) Open Box with Finger Joints template to make your first box.
Customizing Dimensions: Width, Depth, Height

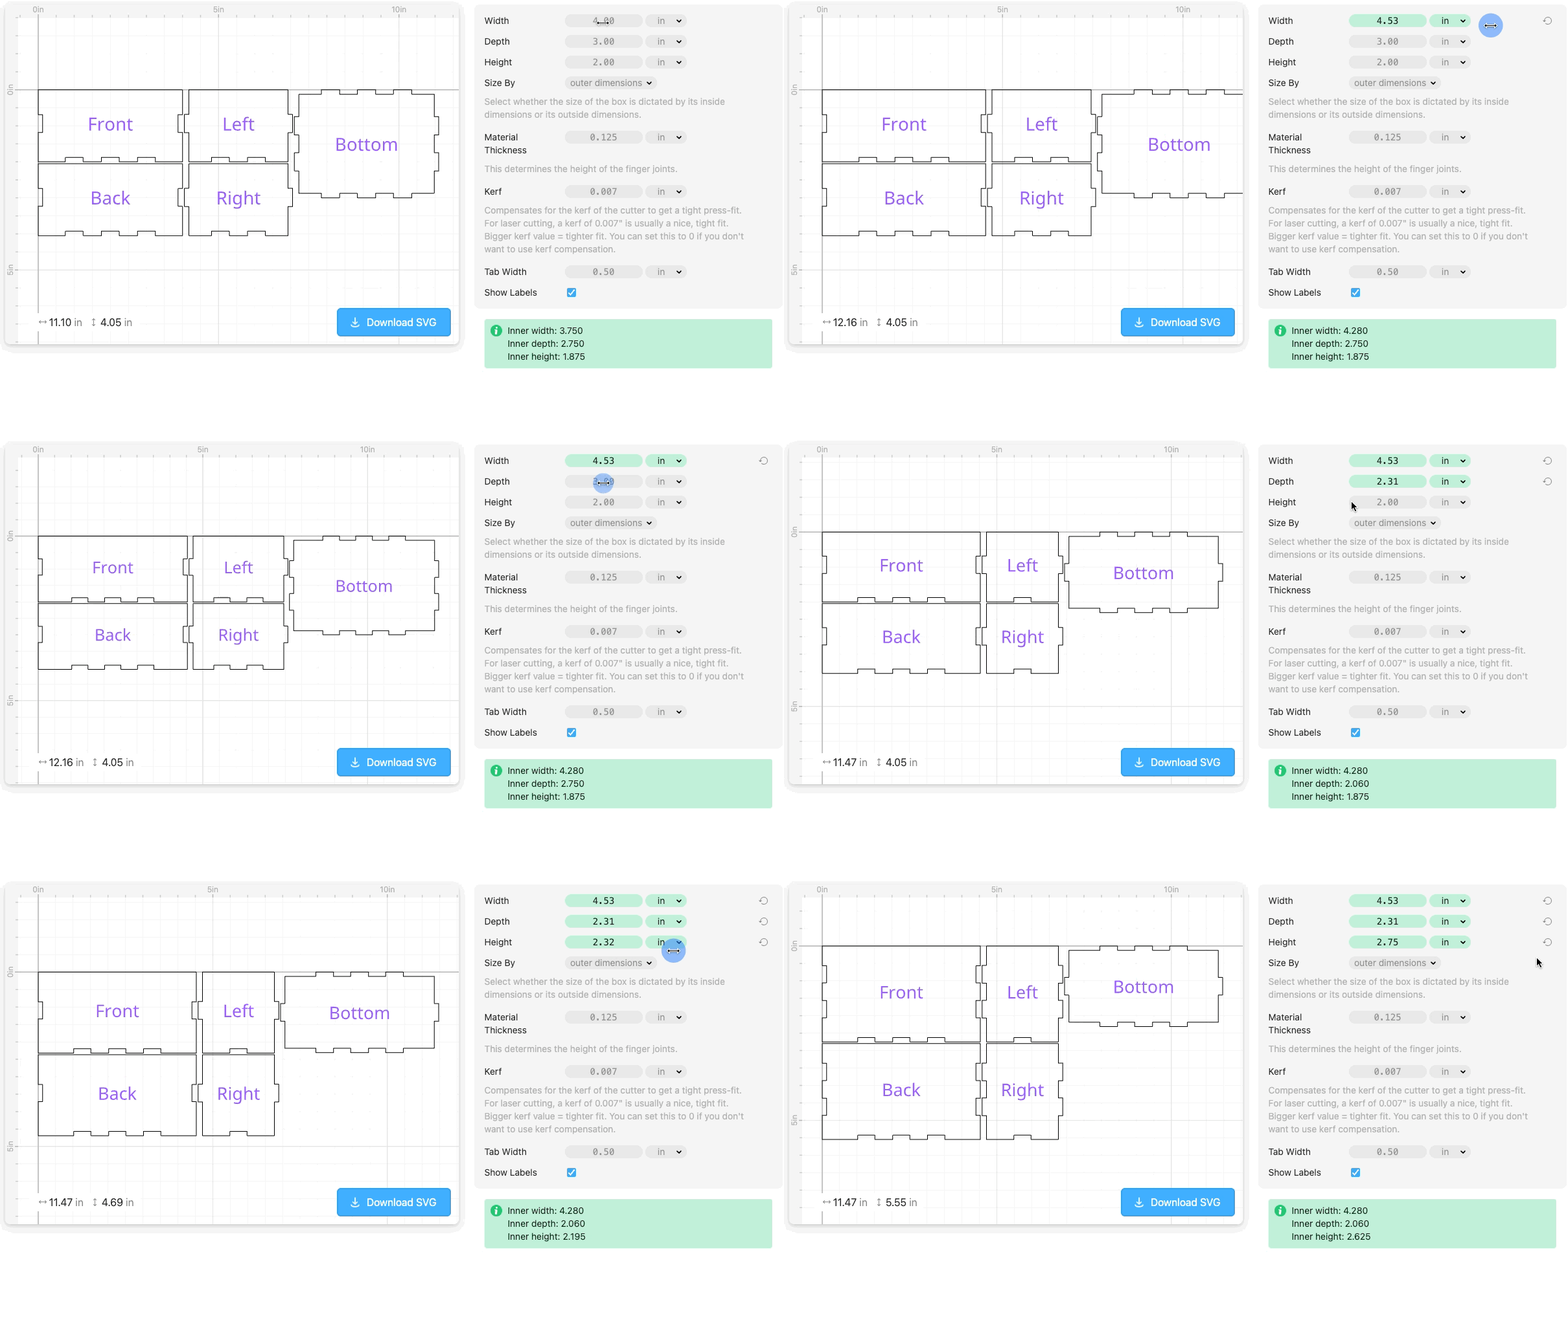
You can make a box with any dimensions you want by simply changing the Width, Depth, and Height parameters..
- Drag the sliders left to decrease and right to increase the values
- Click the numbers to type and enter exact measurements
- Choose between millimeters or inches from the drop down menu
The finger joints automatically resize so all the parts still fit together correctly.
Material Thickness

Measure your Material Thickness accurately for well-fitting finger joints that look nice and flush.
Remove any masking material and use calipers for precise measurements, keeping the jaws of the calipers parallel to the material. Measure in several places and use the average value as thickness can vary slightly.
Kerf

Woodworkers use the term kerf to describe the width of a saw blade cut. Laser cutters also create a kerf or gap when they vaporize material, and this gap affects the final dimensions of the piece.
Kerf compensation is a way to ensure the sides of the box have a tight friction fit by changing the size of the cut slightly. We recommend starting with the default value (0.007 in) this works for almost all laser cutters. If you want a tighter fit make increase this value by a very small amount - if 0.007 in was a little loose, try 0.008 in next, and 0.009 in after that.

Tab Width
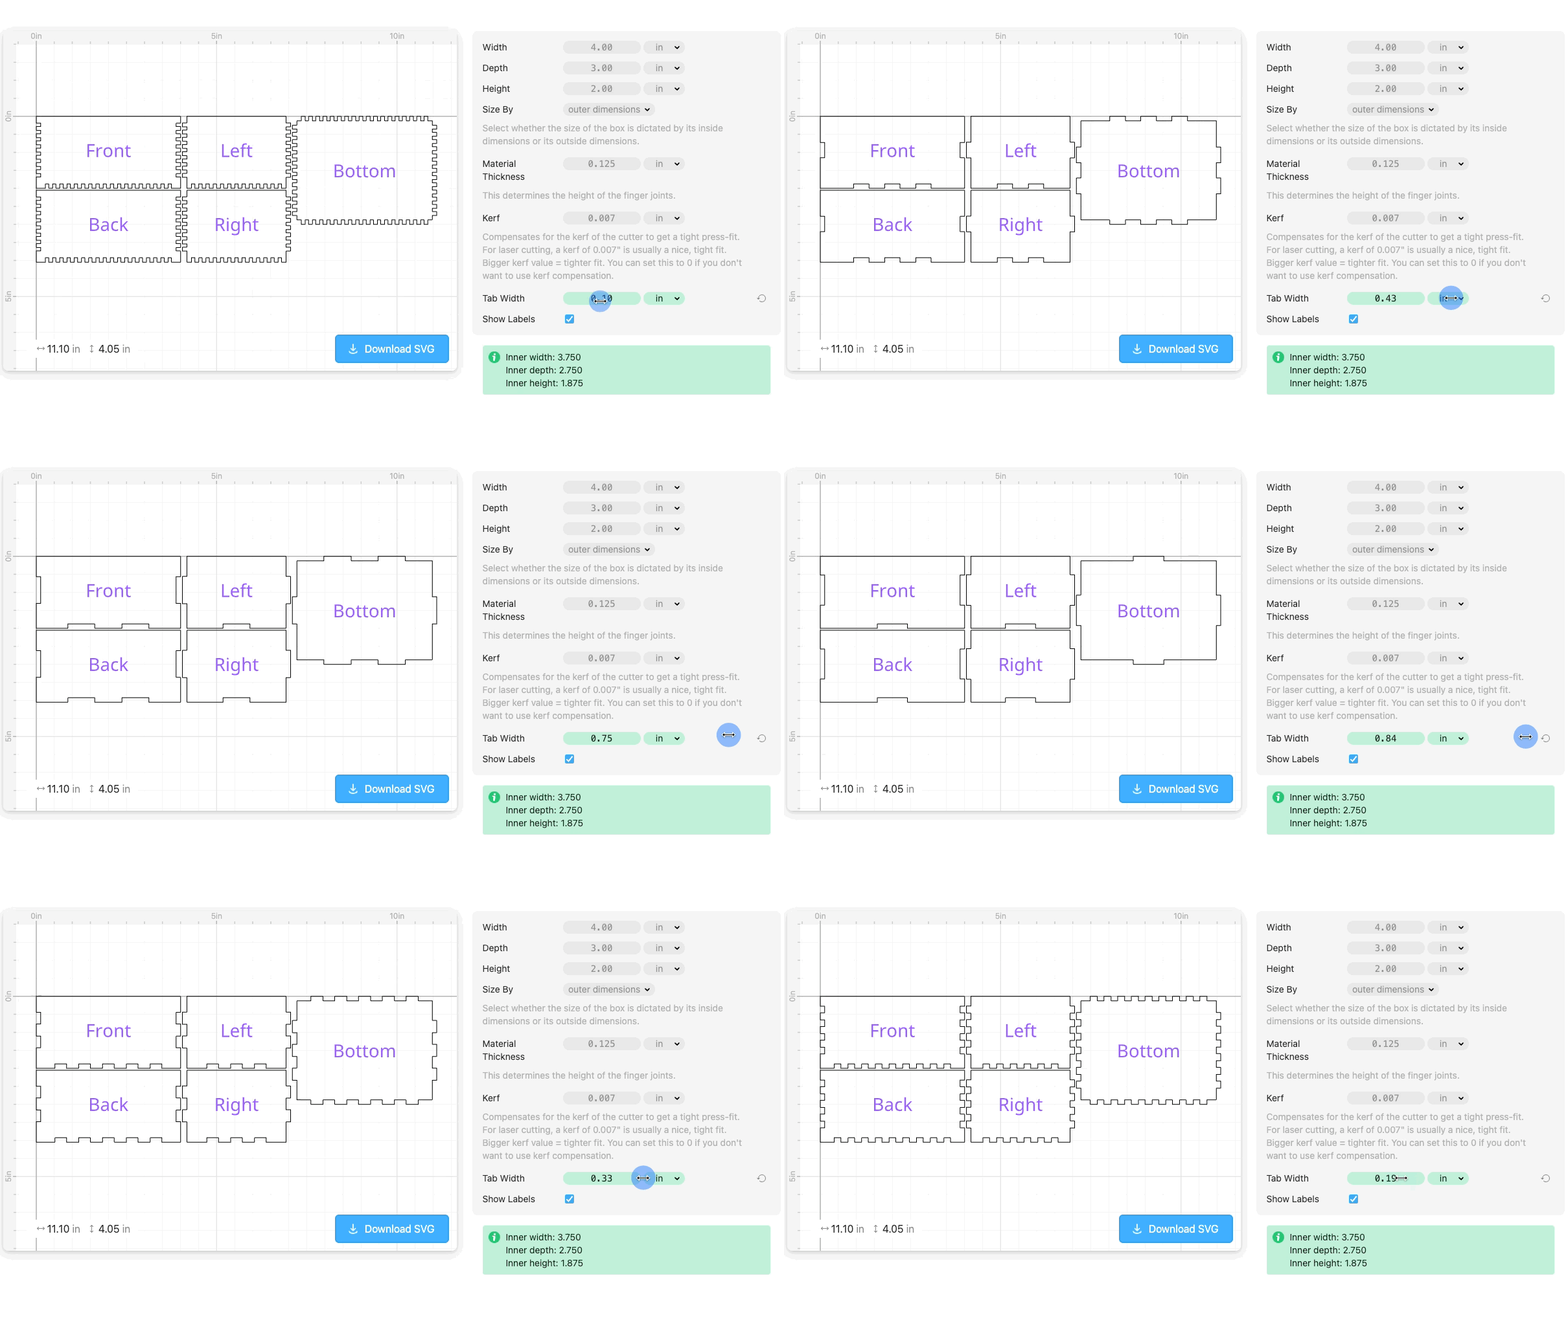
Tab Width changes how many fingers appear on each edge of your box. This setting is mostly an aesthetic choice and it doesn’t affect the fit too much. For most boxes, one or two tabs per edge are plenty. Smaller tabs take longer to cut and can make assembly a little trickier.
Download your file
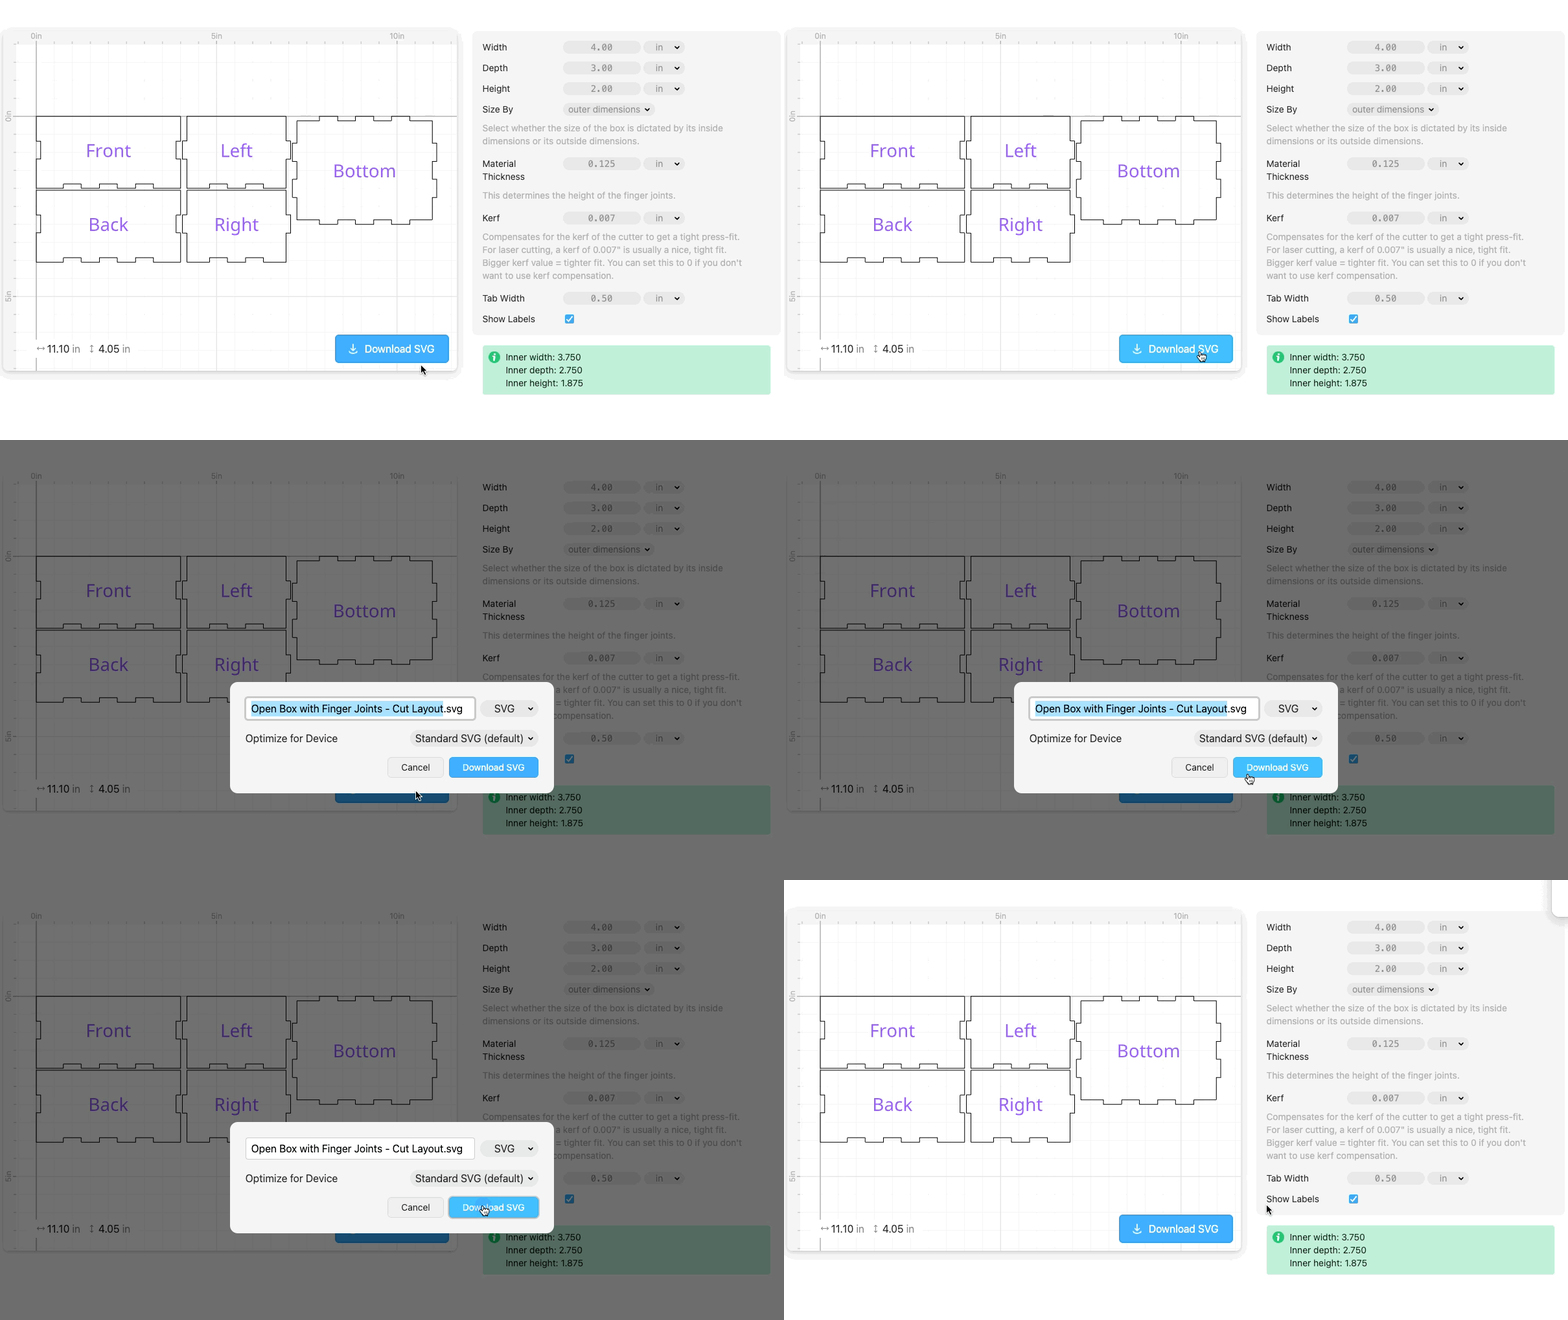
Once you are done customizing your box, click Download SVG. Bring this file into into your laser cutting software.
Assembly and Gluing
If you achieved a really snug fit between the pieces it is often possible to assemble the boxes without glue. But you should know that changes in humidity might affect the fit as the fibers of the wood expand and contract with time. Your mileage may vary depending on material choice, environment and how much the box is handled.
Use wood glue or cyanoacrylate glue (”super glue”) on wood for a more durable option.

Lay out all your pieces first, using the assembly diagram as a guide. Begin with opposite sides (like left and right), then add the remaining faces. You can use a mallet to gently tap the last panel to lock into place.
For added strength and humidity resistance, apply a thin layer of wood glue along the contact edges, wipe away any squeeze-out, and let it dry for a clean finish.
Next Steps
Now that you’ve made your first box, you’ve learned the key principles that apply to all box templates in Cuttle. From here, you can:
- Try more templates — experiment with boxes that have sliding or hinged lids, dividers, or reinforced bottoms to explore new construction styles.
- Test different materials — try acrylic, hardwood, or chipboard to see how each behaves with your laser’s settings.
- Personalize your designs — add engraving, cutout patterns, or decorative finishes to make your boxes truly unique.