Finger Joints Kit
 Cuttle Official
This project kit helps you add finger jointed edges to shapes made with straight segments. You can change the material thickness, tab width and kerf compensation at any time and all the edges will adjust automatically. All of our Box templates were made using this kit!
Video Tutorial
How to use
Unlike other templates, this “kit” allows you to create your own design in the Cuttle Editor.
Scroll to the top of this page and click “Open in Cuttle Editor” to start editing.
You can start by adding shapes to the Design component and then dragging the type of finger joint you want on each edge, or using the
Replace Edgesmodifier. Make sure that mating edges are the same length and have mating types of joints.
Parameters
materialThicknessis the thickness of the sheet material you're using. It determines the height of the finger joints and slots. Measure your material with calipers.tabWidthis the width of a finger tab (or its absence — a slot where another tab will fit). Note that the outer tabs of the Finger Joints Outer component may be wider than this (if the tab width doesn't divide evenly).kerfcompensates for the kerf of your laser cutter and can be used to make a tight, press-fit joint. It is typically around .005in - .008in to get a tight fit, but depends on the material you're using and your cutter. You can also set this to 0 if you don't want to use kerf compensation.
Mating Pairs
Finger Joints will mate with Finger Joints Slots.
Finger Joints will also mate with Finger Joints Outer.
For mating to work, both need to be the same length.
Making Slots
Use Finger Joints Slots to position a line of slots (holes) that Finger Joints will fit into.
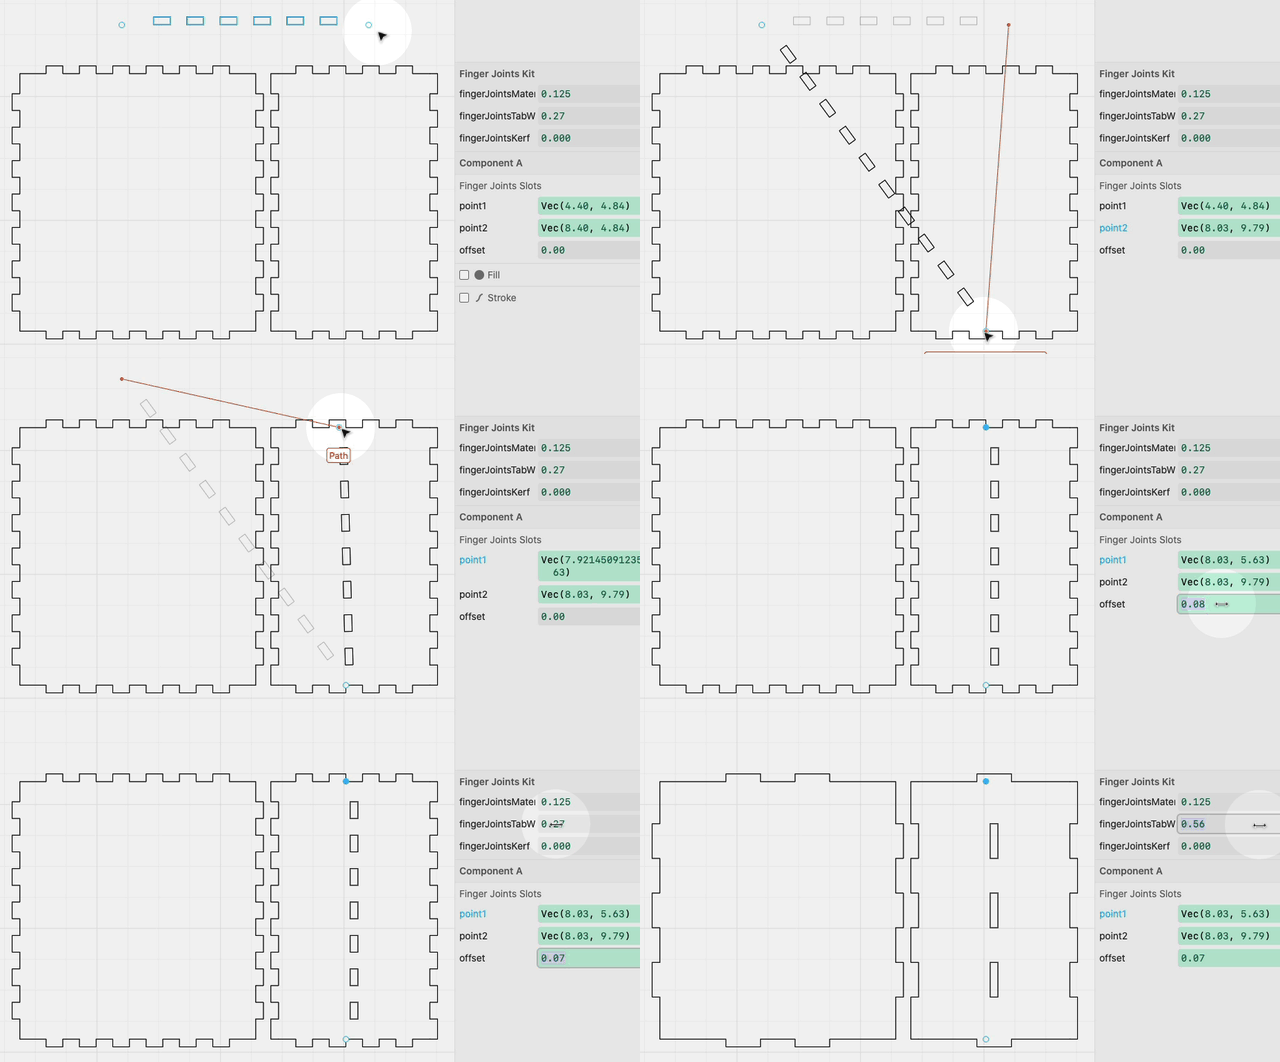
There is a handy offset parameter for moving the slots in a perpendicular direction.
"Replace Edges" Modifier
This will replace each edge in a path with whatever component(s) you choose.
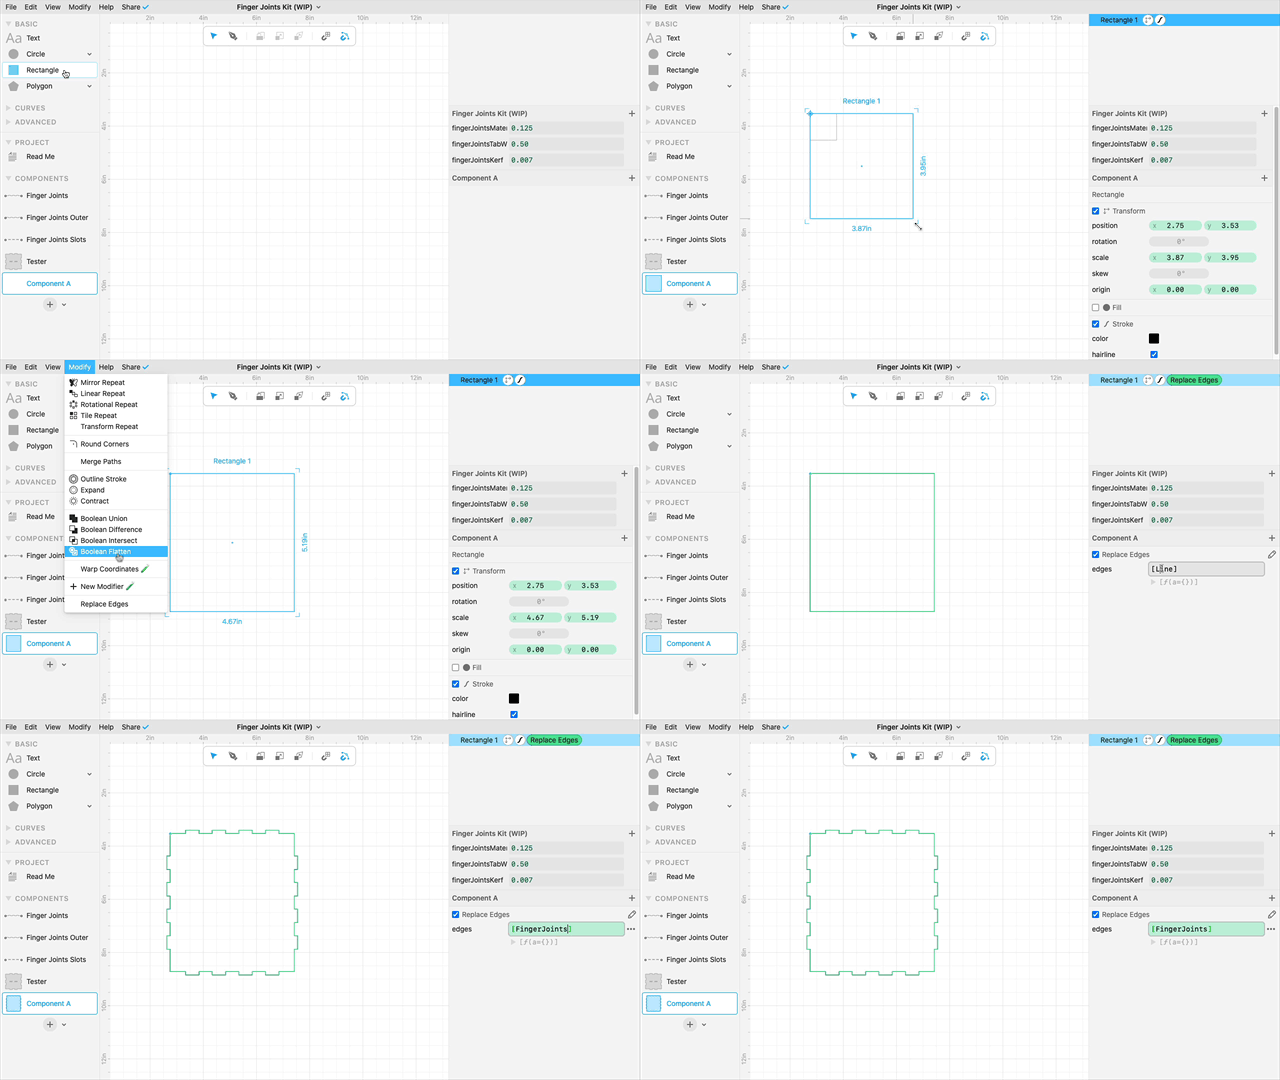
The idea is to make it easier to make a Rectangle that has finger joints on each edge. You make a Rectangle, apply Replace Edges, and then set the edges parameter to e.g. [FingerJoints] (this will replace each edge with Finger Joints).
You can also have different edges. The ordering is top, right, bottom, left. For example, if you put [FingerJoints, FingerJointsOuter] into the edges parameter, you'll get Finger Joints on top, then Finger Joints Outer on the right, then it will repeat to give you Finger Joints on the bottom, and Finger Joints Outer on the left.
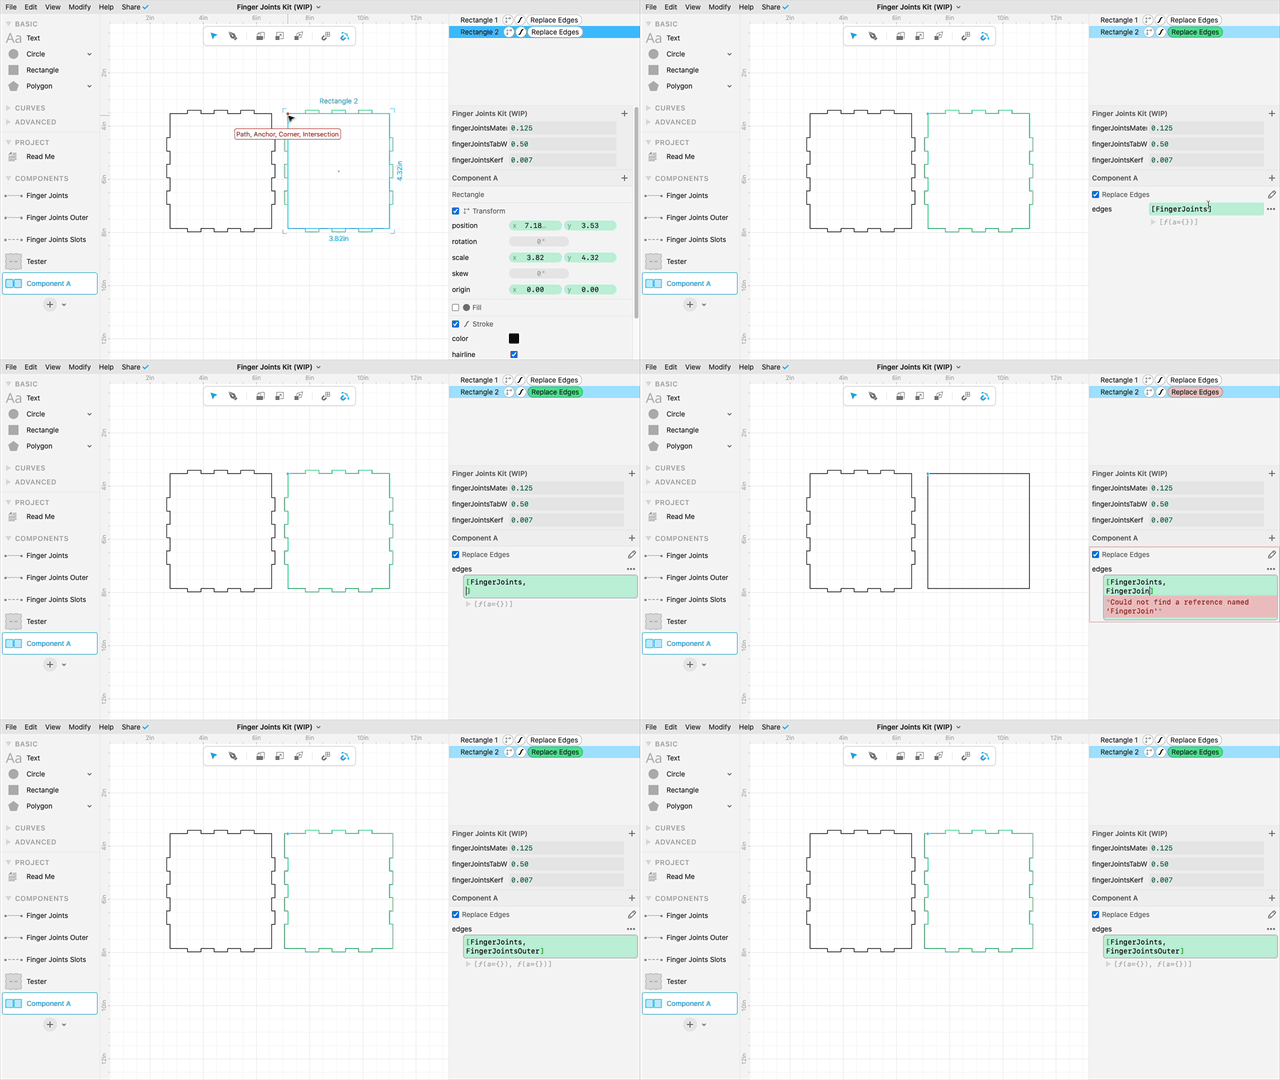
You can use Line to replace an edge with a simple line (that is, keep it the same). You can use null to remove an edge.
You can use any component that has parameters point1 and point2, that is, any component that functions like a Line.
The joinery is designed to work with "inner dimensions". So size your Rectangle to the inner dimensions of the face you want and the fingers will "stick out" of that.
Typically you'd use this with a Rectangle, but Replace Edges will work with any path that has straight segments. The ordering of the edges comes from the ordering of the segments in the path.
Designs made with this kit
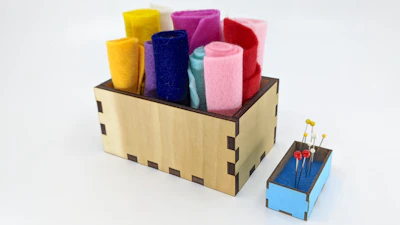
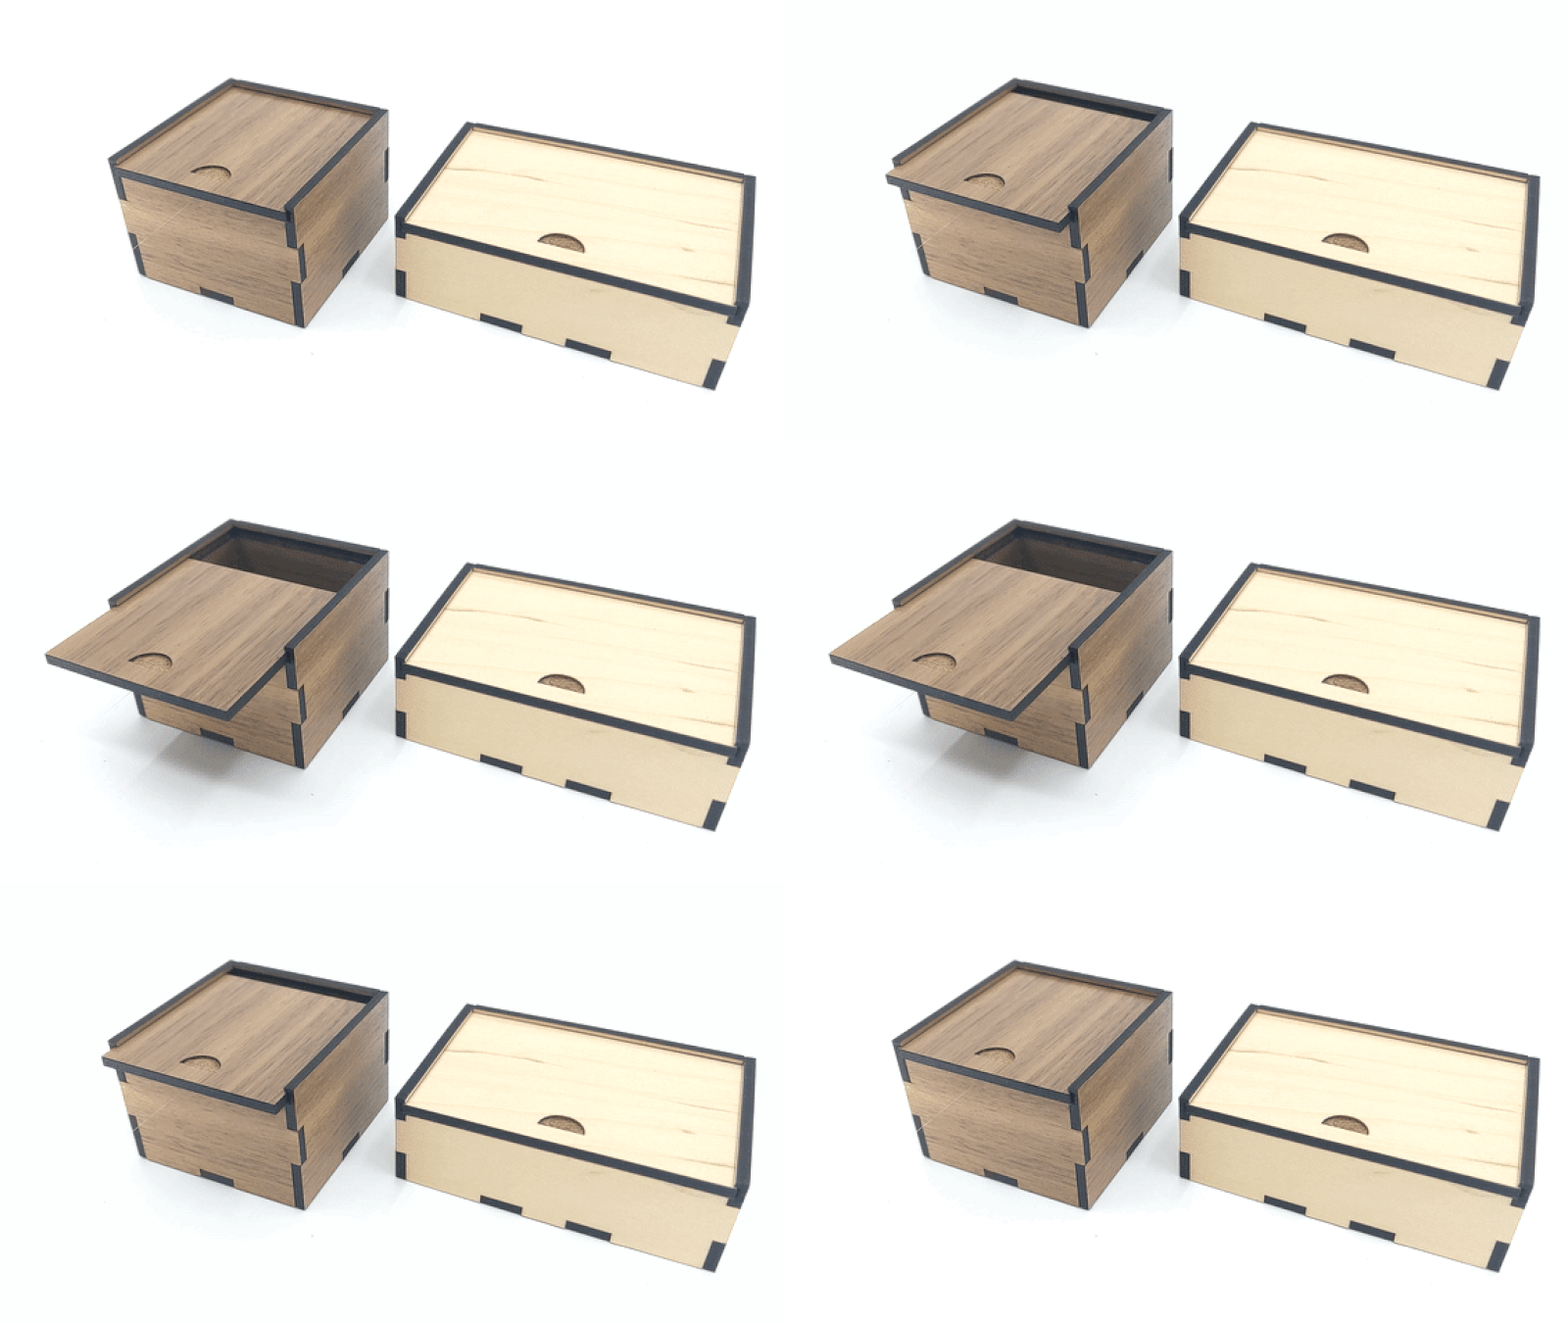
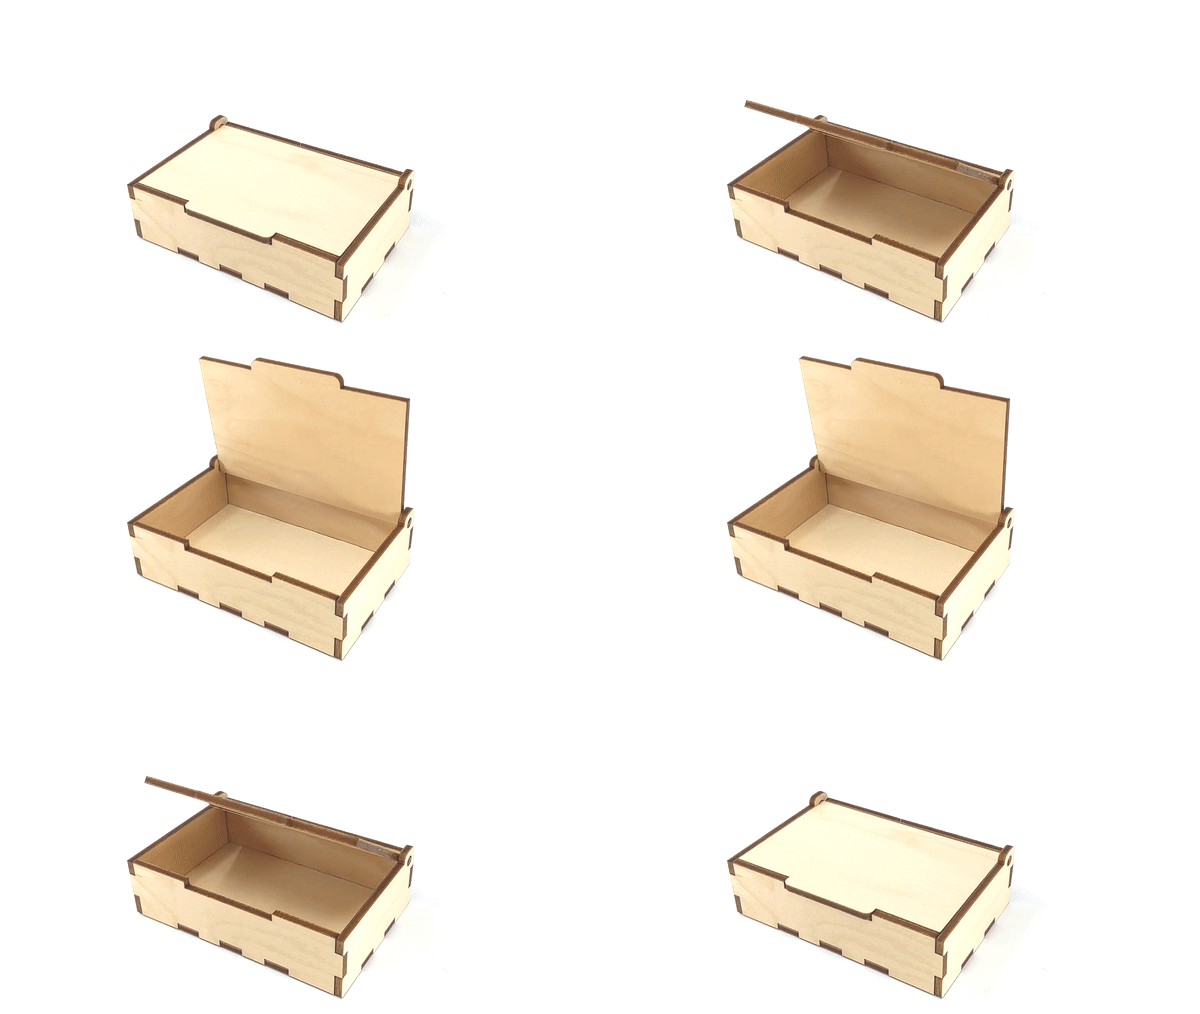
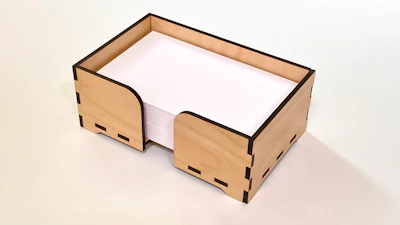
Most of Cuttle's box templates have been made using this kit. You can always remix any of these as a starting point for your own projects, or use this kit for a cleaner beginning as they use the same logic and techniques.