Closed Box with Finger Joints
 Cuttle Official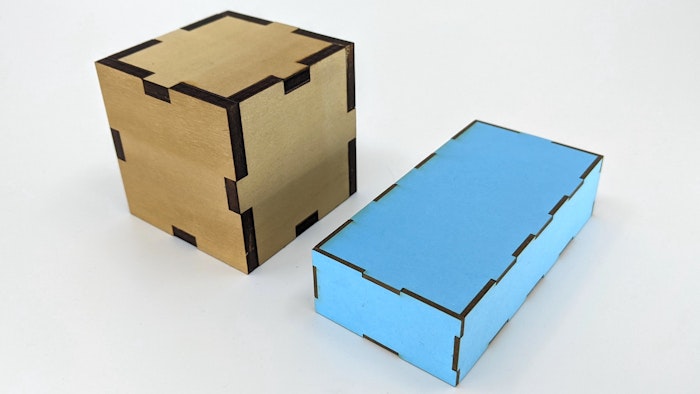
Customize the dimensions and material thickness of this press-fit box.
Video Tutorial
Note: This video uses the Open Box template but the explanations are still relevant.
How to Use
Set the dimensions (
width,depth, andheight) of your desired box.Set the
materialThicknessbased on the material you're cutting. This will determine the height of the finger joints.Set the
kerfto compensate for the kerf of your cutter. A value of 0.007" is usually good for tight-fitting laser-cut finger joints, but you'll need to adjust this depending on your material, material thickness, and cutter.Optional: adjust the
tabWidthif you want your finger joint tabs to be bigger or smaller.
Customizing
This box is a good starting point for making enclosures. You may want to cut additional holes depending on your project. Click Edit in Cuttle to customize each face: the Front, Back, Left, Right, Top, and Bottom components.
Assembly
The finger joints will slot into each other with a tight fit. You may need to use a rubber mallet to tab them in.
This diagram shows how the pieces fit together: