Sliding Lid Box Reinforced
 wijitworks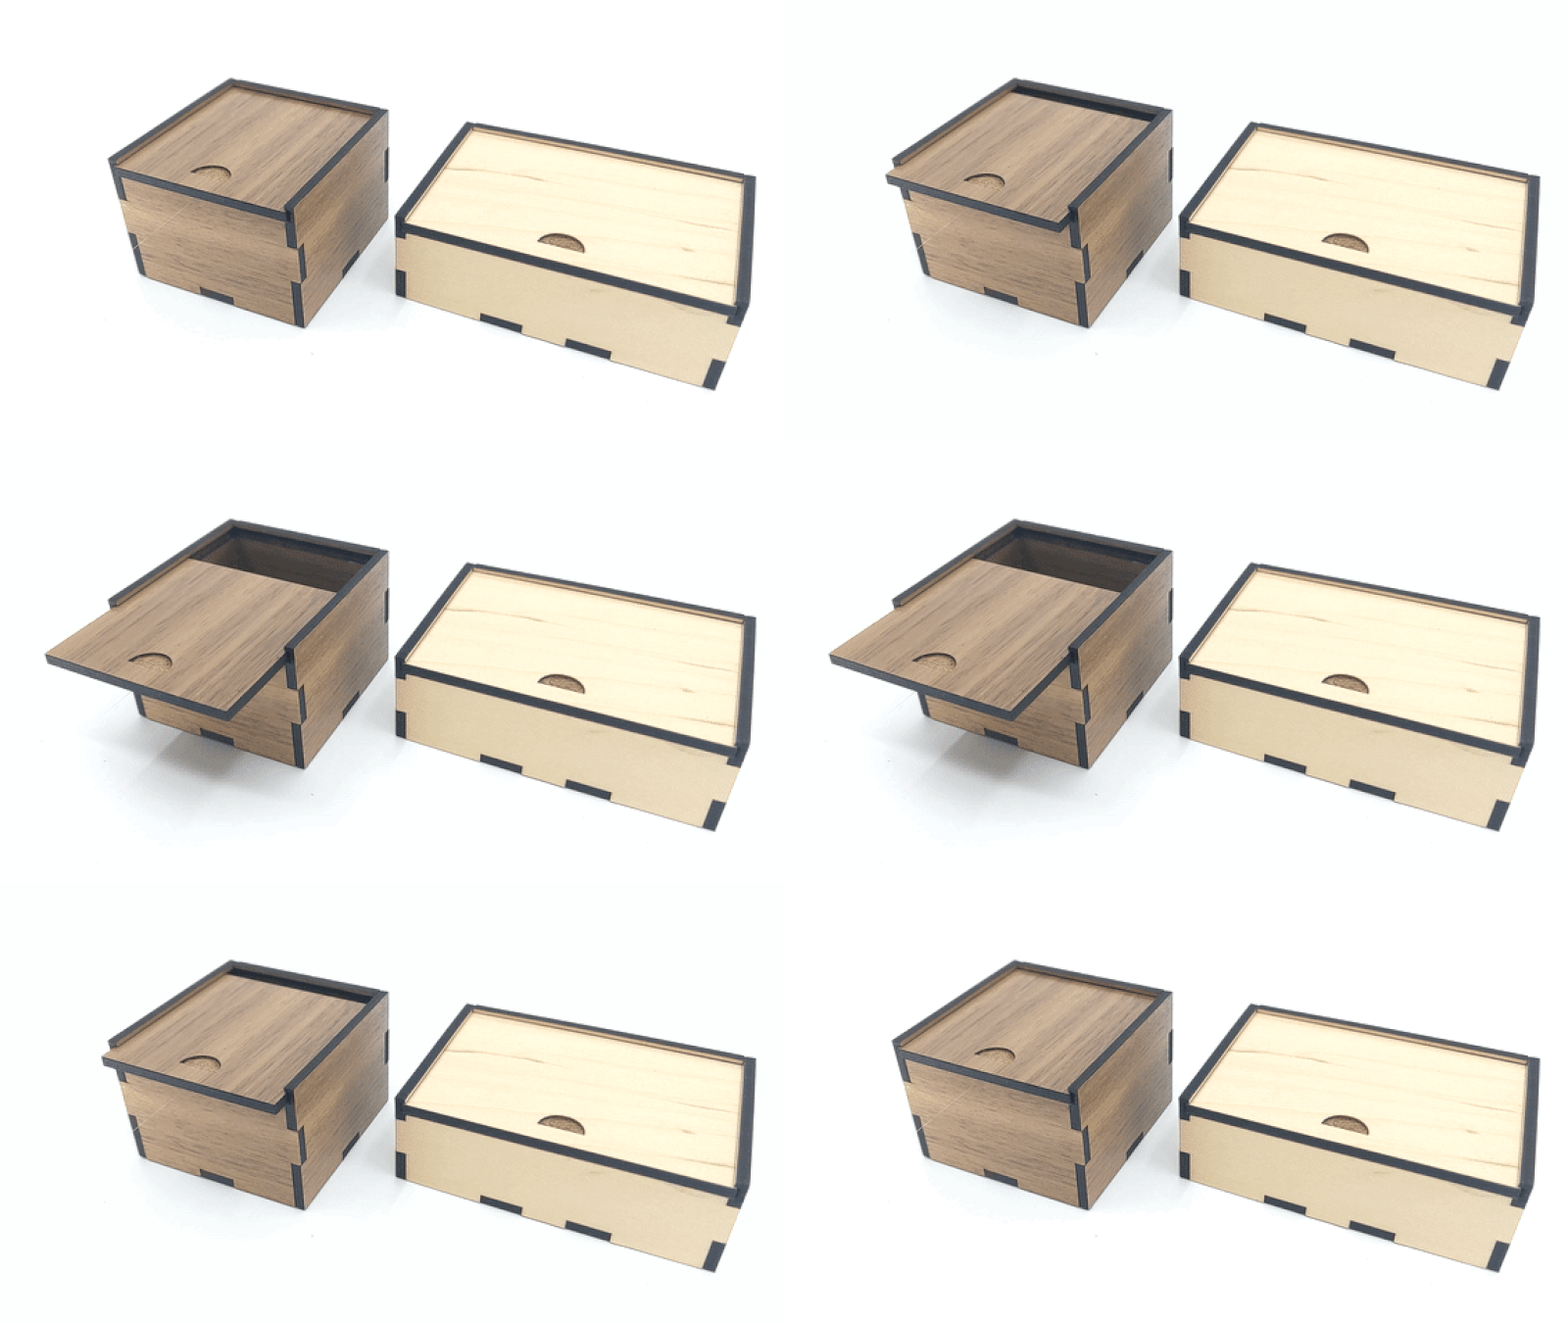
EDIT: I combined the Sliding Lid Box and Reinforced Open Box with Finger Joints templates into one. I have not personally cut or test this design.
Make a box of any size with a lid that slides into an engraved slot.
Video Tutorial
How to Use
Set the dimensions (
width,depth, andheight) of your desired box.Set the
materialThicknessbased on the material you're cutting. Be sure to measure this with calipers so that the lid fits into the slot.Set the
kerfto compensate for the kerf of your cutter. A value of 0.007" is usually good for tight-fitting laser-cut finger joints, but you'll need to adjust this depending on your material, material thickness, and cutter.Optional: adjust the
tabWidthif you want your finger joint tabs to be bigger or smaller.
Cutting and Engraving the Slot
In this design, the red filled areas need to be engraved to create the slot for the lid.
We need to engrave to a depth of a bit more than .05 inches.
We recommend using MDF-core materials because they engrave with a more consistent depth.
👉 Not using a Glowforge? Using a different material? To find the settings for your own laser or material, follow these instructions.
On a Glowforge, we recommend these settings:
For MDF-core 1/8" Proof Grade Materials like Draftboard, Medium Maple, Medium Walnut.
325 speed
100 power (not "full power")
195 Lines Per Inch

Other materials we have tested:
Medium Light MDF from Craft Closet
425 speed
100 power (not "full power")
195 Lines Per Inch
Medium Maple MDF-core Plywood from Craft Closet
300 speed
100 power (not "full power")
195 Lines Per Inch
The semi-circle on the lid is meant to be a thumb hold. You can just use the default engrave settings for this.

Assembly
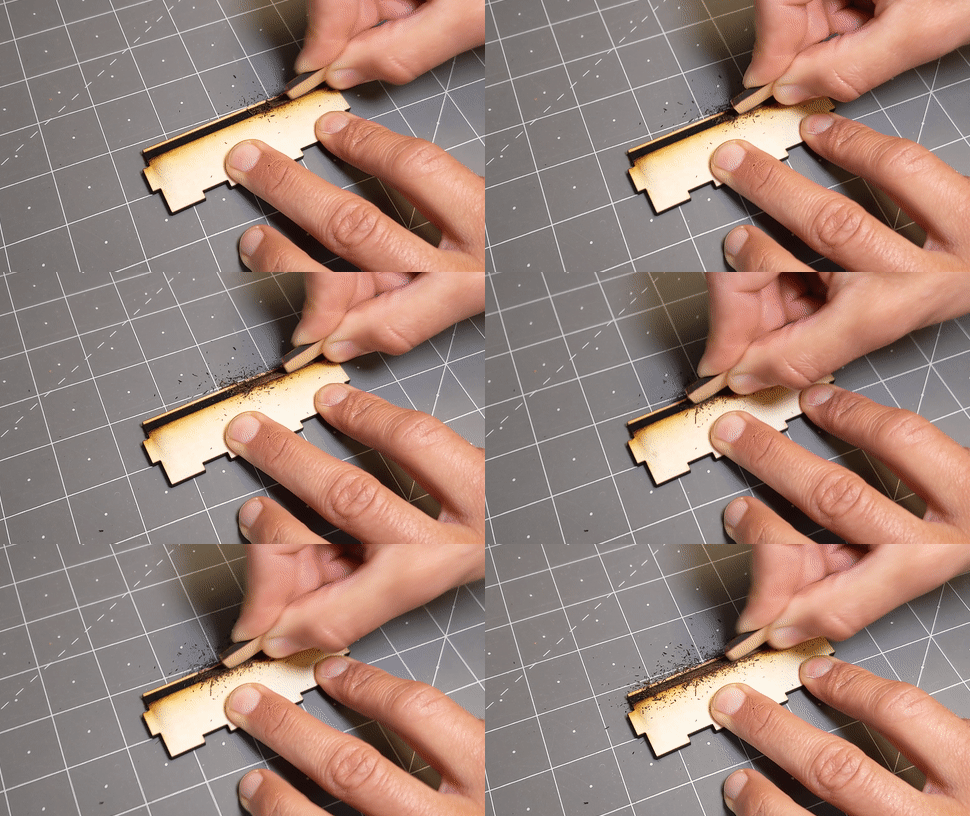
After you engrave the slot and cut the pieces, you'll need to clean out the engraved slot.
Simply slide a piece of scrap material back and forth within the slot, then brush it a bit with an old toothbrush.
Next assemble the finger jointed pieces into a box. They should press-fit. You may need to use a rubber mallet to tap them in.
Then test that the lid slides in nicely and you're done!
Troubleshooting
If the lid feels tight, you can try:
Sliding it back and forth a few times. This sometimes loosens it up.
Lightly sanding the lid's edges to make it slightly narrower.
Next time, engraving a deeper slot by decreasing the engrave speed (e.g. try 300 speed instead of 325). By decreasing the speed, the laser will burn away more material.