Book Cover Template
 wijitworks
This Cuttle template helps you create a custom notebook cover using chipboard panels and a decorative wrap. While the example shown uses a standard sticky note pad, the parameters can be adjusted for notebooks of various sizes.
The template generates a precise cutting guide for both the paper cover and the chipboard, with built-in margins and spine gaps to ensure clean folds and professional results. It’s ideal for craft projects, gifts, or small-batch stationery production.
Detailed step-by-step instructions below.
Just the panels
Step 1: Use the Template to Cut the Cover
Laser cut a reusable acrylic template using the exported design, then use it to trace and cut decorative scrapbook paper. This is especially helpful if you plan to make multiple notebooks.
If you're only making one or two, you can skip the acrylic and use the chipboard pieces themselves as cutting guides.

Clear acrylic guide aligned over patterned paper for precise cutting.
Step 2: Trim the Cover and Corners
Remove excess paper and clip all four corners at a 45-degree angle to prepare gluing.

Trimmed layout with layout guide for glue.
Step 3: Prepare the Chipboard Panels
Laser cut the front cover, back cover, and spine pieces from chipboard.
You can:
Use the three shapes included in the main template file, or
Cut from the separate chipboard-only file provided, which is cleaner and faster if you're using a physical template.
This gives you flexibility depending on whether you're making one notebook or several.

Three chipboard parts placed near the prepared decorative wrap.
Step 4: Place the Spine Panel First
Align and glue the spine panel in the center, using the guidelines for placement.

Spine piece glued into position in the center channel.
Step 5: Add the Front and Back Covers
Glue down the front and back chipboard panels, aligning with the outer rectangles. Be sure to leave the correct spacing from the spine for folding.
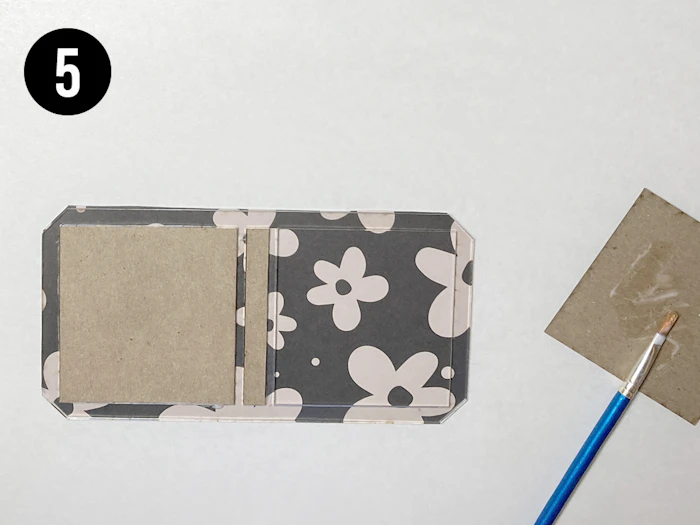
One panel in place, second panel being glued with a brush.
Step 6: All Panels in Place
All three chipboard panels are now glued to the back side of the scrapbook paper. Let the adhesive set before wrapping.

Full chipboard structure complete and ready for wrapping.
Step 7: Apply Adhesive to Long Edges
Add glue along the long paper flaps and fold them over the chipboard. Press firmly to adhere.

Glue applied to long edges and folded down.
Step 8: Fold and Adhere Short Edges
Repeat the process for the short ends, tucking in the corners neatly as you go.

Short ends folded and pressed into place.
Step 9: Wrap Complete
Your cover is now fully wrapped and the corners are cleanly folded. Let dry before continuing.
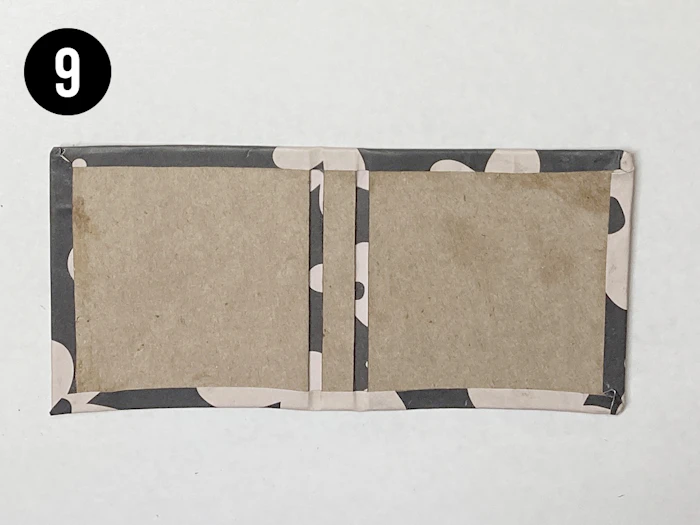
Finished outer wrap with crisp folds and secure edges.
Step 10: Add Inner Liner Panel
Apply glue across the inside surface and place a kraft liner or endpaper to cover the exposed chipboard and seams.

Glue applied before placing the inner liner.
Step 11: Smooth and Crease the Fold
Press the liner firmly and crease along the spine to restore foldability.

Inner liner in place with a smooth fold line at the spine.
Step 12: Attach the Sticky Note Pad
Finish by adhering a standard sticky note pad to the inside back cover, centered.

Completed notebook with sticky note pad installed.