AdjustableRocker
 Hasan Edain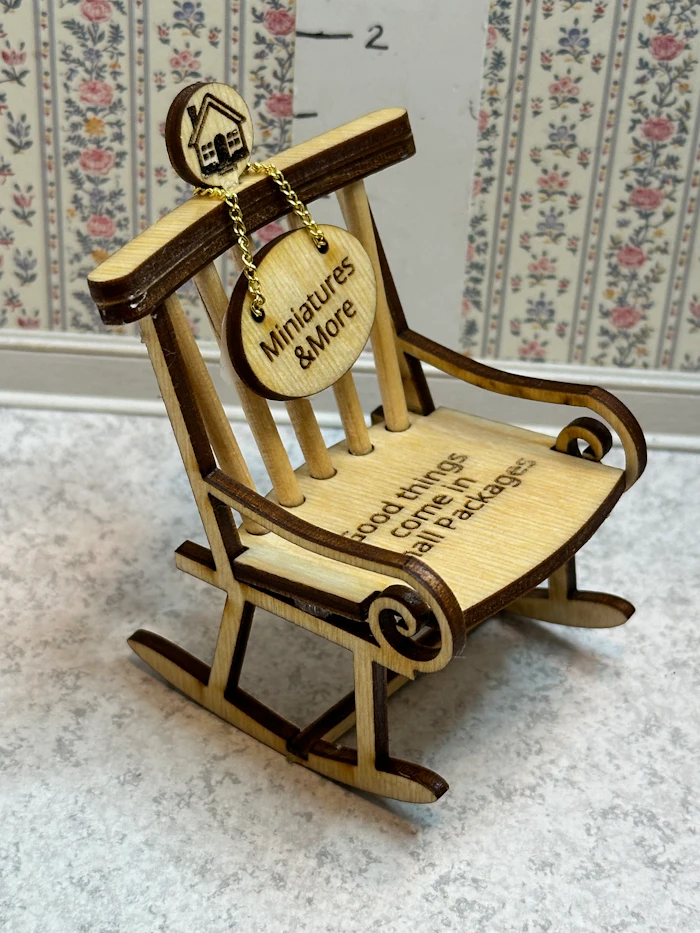
License
I would like to be paid for this work, if it is useful to you. Find the payment that suits you:
$1 - I want to support, but don't have much to give.
$15 - I want to use for small batches (under 50)
$100 - I want to use unlimited
Venmo: @Hasan-Edain PayPal: @npcunlimited

Please do NOT resell this file, or charge for access to it.
Discussion
This is an experiment for me.
Can people understand how to adjust this file?
Will people pay when they don't have to?
Can I assemble and make it work?
Parameters
This file is very flexible (and may have a lot of bugs...)
You can adjust (at least)
Cut Color
Engrave Color
Score Color
Width (total width of the chair)
Depth (total depth of the chair)
Leg height (how tall the chair is from the floor to the bottom of the seat pan)
Back Height: How tall the chair is from the seat pan to the bottom of the decorative topper
Material Thickness: This is used for a number of calculations, most notably any time that a hole is made that another piece will fit into.
Kerf: how much material does your laser remove on a cut?
Personalization
There are three personalization locations:
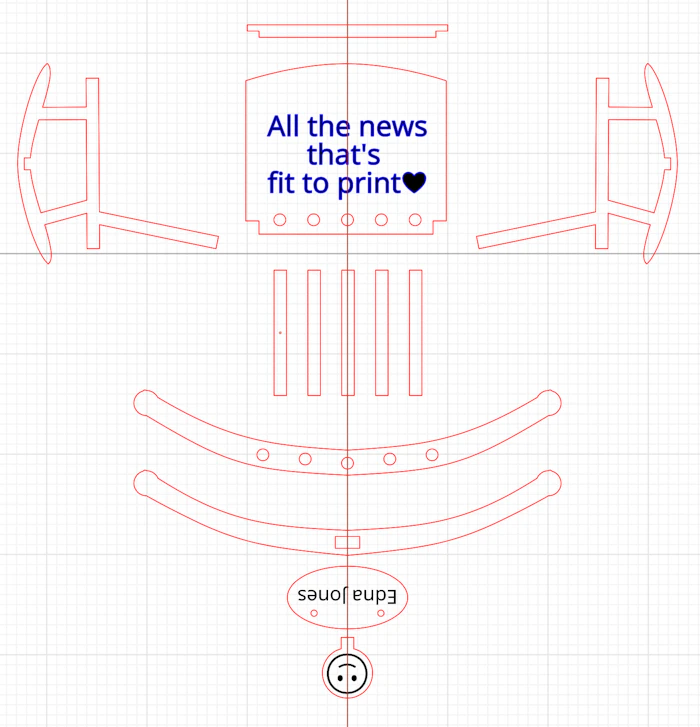
Decorative top (at the top of the Chair hang the plaque from it). Can be any emoji you choose.
Plaque: A sign that can be hung on the chair and can have any text you want (including Emoji)
Seat Pan: Where a person (doll) would sit, any text (including emoji) can be engraved on this.
Assembly
Materials and tools
Wood to cut from (Baltic Birch Plywood recommended)
Dowels will need a number specified in the parameters (5 by default)
Small ribbon or string (to hang the plaque)
Glue (Elmer's recommended)
Sandpaper (grits depending on wood, 150,220 recommended)
Stain / Paint / Sealer (I like to use butcher block oil or bees wax)
Clamps / square / rubber bands (just plan how you will keep the thing square while the glue sets)
Clean workspace (obvious ... until you are halfway through a glue up and need space ;) )
Work mat / newspaper / drop cloth (something you can cut / sand paint on, and clean up easily)
Preparation
Adjust parameters to match your materials
Cut as many of the components as you will need (both flat and dowel)
Sand off smoke marks (even if you are painting, the dark can show through)
Dry fit the dowels to the holes (I found that I needed to "round" the ends of the dowels to get them to angle the way I needed)
Layout pieces per the "Assembly" view to ensure that all pieces are present
Paint / stain any piece that you want. (sealer may prevent glue, so wait for that)
Dry Fit
Put dowels into Pan ( some sanding may be useful to let them angle)
Fit dowels into "Back Top One" may need to sand / shave dowels to allow the angle.
Fit "Decorative Top" into "Back Top"
Dry fit "Side(s)" to "Pan"
Dry fit "Rocker Crossbar" into "Side(s)"
Glue
Glue dowels into place.
Glue "Back Top" onto "BackTop One"
Glue "Decorative Top" into "Back Top"
Glue "Rocker Crossbar" to "Side(s)"
Glue Side(s) to "Back Top One"